How to Build a PC – Step by Step
Before Working Inside of The Case
1) Remove both side panels of the case (and other removable panels if possible) to enable more room for the hands to work with.
2) Unmount any stock case fans you do not want in the build. You can mount any aftermarket fans of your choice onto the case. Fans will need to be on the case in any event, so there’s no harm in getting this step out of the way early before the case is populated (unless you also are using a liquid cooler and are unsure which side to install it on).
 Before The Motherboard Is Inserted
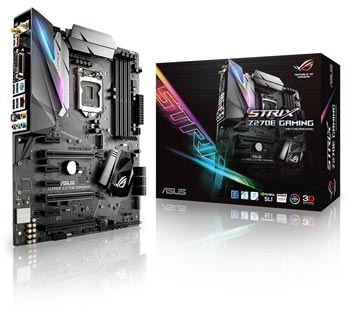
1) Place the CPU into the motherboard (lock it in).
2) Place the RAM stick(s) into the motherboard (lock them in). You can also insert any M.2 SSD storage at this stage.
3) Screw in and install the CPU Air Cooler onto the CPU. (If using a Liquid Cooler, perhaps install that part last or next-to-last before the video card).
4) Insert the standoffs (little metal pegs) into onto the holes of the case
 Wiring
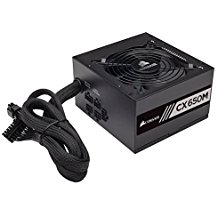
1) Place the Power Supply in the correct area and screw it into place. If a modular power supply, attach the appropriate wires onto the back of the Power Supply first.
2) Run the power supply cables through holes within the case. Try to position them near their ports on the motherboard (i.e. SATA and 24-pin on the right; 8-pin on the left.
3) Wire the following cables to the motherboard: Front Power/LED, 12V, 24-Pin and SATA ports. Try to not allow them to cross over each other so that you can neatly manage them.
4) Attach the storage drives to the other end of the SATA cable and fasten them to an appropriate location.
5) Add in the video card to the PCI Slot and hook the PCI cable onto it. Do this step near the end to avoid the case being cluttered.
6) Tidy up the cables.
Testing
1) Before closing the PC case, check to see that the PC boots. (Some people prefer to do a boot test before any of the parts are installed inside of the case though).
2) Close the panels of the PC case once you’ve verified that everything is working fine.


